How Many Lumens Do I Need for a Bike Light? A Simple Guide for Commuting, Road & Gravel
Choosing a bike light by the biggest lumen number on the box is an easy way to buy more light than you need — or a light that still doesn't work particularly well for your riding.
The first question isn't really “How many lumens do I need?” It's “Do I need to be seen, see the road, or both?”
A rider commuting through well-lit streets has very different requirements from somebody riding quickly along an unlit country lane. Beam pattern, battery life, mounting position and the way a light distributes its output can matter just as much as headline brightness.
This guide gives some useful starting points for commuting, road and gravel riding without turning lumen numbers into rules they aren't.
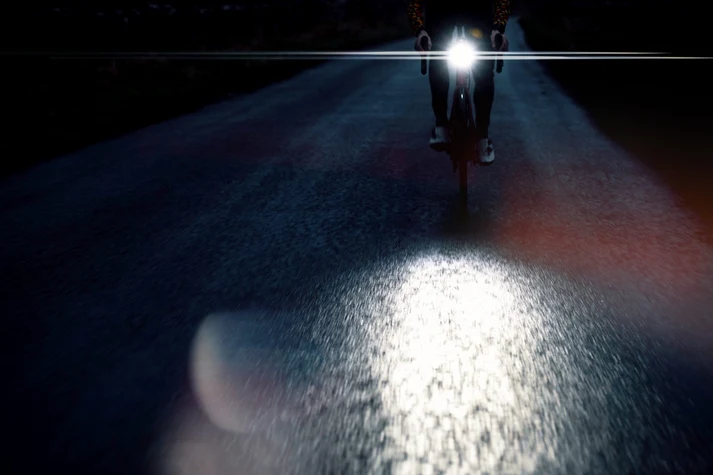
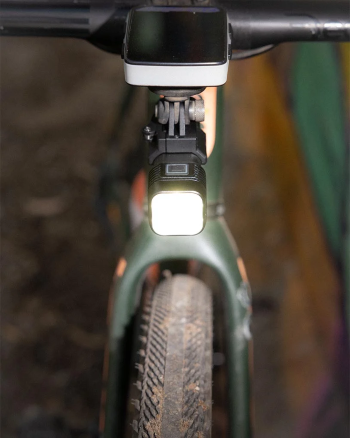
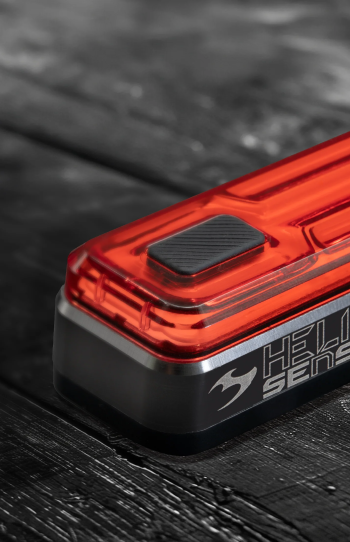
A light used primarily to be seen needs to make your presence obvious to other road users. This is particularly important around traffic, junctions and changing light conditions. A light used to see the road has a different job. It needs to illuminate enough of the road ahead for you to identify potholes, debris, bends, changes in surface and other hazards early enough to react. Many riders need both. A commute might begin under street lighting and finish on an unlit lane. That's why we'd establish where you ride before recommending a particular light. There isn't one correct lumen figure for every rider, but these are useful starting points. These figures are guides rather than minimum requirements. A well-designed 700-lumen light can sometimes put more useful illumination onto the road than a poorly controlled light with a much larger headline figure. Speed matters too. Riding slowly along an unlit cycle path is very different from descending a dark lane at road-bike speeds. The faster you're travelling, the further ahead you need to see. During daylight, bike lights are primarily about making you easier to notice rather than illuminating the road. For that reason, we wouldn't select a daytime light simply because it has a high maximum output. A clear daytime flash pattern, good visibility from an angle and sensible positioning on the bike may be more useful. For riders who mainly want a straightforward front-and-rear visibility setup, the Moon Orion W + Orion R is a useful example. The front produces up to 100 lumens and the rear 50 lumens, with daytime flash modes, side visibility and USB-C charging. View the Moon Orion W + Orion R light set If most of your journey is under street lighting but you want significantly more useful illumination ahead, around 200–400 lumens is a sensible starting range. Once your route starts including darker sections, moving further up in output gives you considerably more flexibility. This is probably the most common situation for riders around Portbury, Portishead, Pill and the surrounding area. A route can move very quickly from street lighting into much darker roads and lanes. Around 400–800 lumens is a useful starting point for these conditions. The Knog Blinder 700 sits particularly well here. Its front beam is designed around a combination of focused and wider optics, with up to 700 lumens available and a claimed two-hour runtime on its highest steady setting. You may not need maximum output through a well-lit section. Using a lower mode preserves battery life, with more power available when you reach darker roads. For this type of riding, we'd pay particularly attention to: Once street lighting disappears, a front light needs to do much more than simply announce that you're there. For genuinely unlit roads, around 600 lumens is a reasonable minimum starting point, with 800–1,000+ lumens offering more useful illumination as speed and road difficulty increase. The Moon Rigel Pro 1000 is a good example of why we don't look at the lumen figure alone. Alongside its 1,000-lumen maximum output, it uses a rotatable anti-dazzle lens, has side visibility and allows the output to be adjusted through Moon's Variable Lumen System. A useful road beam should show you the road surface ahead while also giving enough peripheral illumination to understand bends, verges and the shape of the road. A narrow 1,000-lumen hotspot may look impressive when pointed at a wall, but it isn't necessarily as useful on a dark road as a light that distributes slightly less output properly. Speed changes the requirement again. At 15mph you have considerably more time to react to a pothole than you do at 25 or 30mph. If you regularly ride quickly on unlit lanes, we'd generally start around 1,000 lumens and move towards 1,500 lumens where the conditions and speed justify it. The Knog Blinder 1400 is the higher-output option in our selected range. Knog has designed its optics for road and all-road use, combining narrower and wider lenses to provide both forward reach and useful peripheral illumination. Maximum output still isn't the whole story. If a light produces 1,400 lumens but your ride lasts two hours, its medium and lower steady settings can matter more than the figure printed on the packaging. Check the manufacturer's runtime for the settings you are actually likely to use, not simply the longest claimed runtime on an economy flashing mode. Gravel riding introduces another challenge: you're trying to read the surface as well as the direction of the trail. Loose stones, ruts, roots, mud and changes in surface texture make peripheral light particularly useful. Around 1,000–2,000 lumens will cover a large amount of recreational gravel riding. Faster or more technical off-road riding can justify higher output, but at that point beam shape, mounting and battery capacity become at least as important as brightness. A narrow beam can make it difficult to see what's happening either side of your immediate line. For rougher riding, a broader usable spread can make the bike easier to place through corners and across uneven ground. For the sort of mixed road and gravel riding many of our customers do, the Moon Rigel Pro 1000 and Knog Blinder 1400 represent two sensible points in the range rather than automatically jumping to an enormous high-output trail light. Rear lights have a different job, so comparing their lumen figures directly with front lights isn't particularly useful. For most road and commuting use, somewhere around 20–100 lumens can be entirely adequate, depending on lens design, flash pattern, ambient light and how the light is positioned. More output isn't automatically better. A rear light needs to be clearly visible without needlessly dazzling somebody riding directly behind you. Visibility from an angle matters too because traffic doesn't always approach directly from the rear. The Moon Helix Sense 150 is particularly interesting here. Alongside its maximum 150-lumen output, it provides 270-degree visibility and a Sense mode incorporating braking, ambient-light and motion functions. It also has a specific group-ride mode intended to keep the rider visible without unnecessarily dazzling the people riding behind. When comparing rear lights, we'd look at: Lumens measure the amount of light produced. They don't tell you where that light goes. That's one of the reasons two bike lights with similar lumen figures can feel completely different on the road. A useful front light should put enough illumination onto the road ahead without wasting large amounts of output above the horizon or creating one intensely bright hotspot surrounded by darkness. Good peripheral illumination can also help you read bends and see hazards towards the edge of the road. This is why we wouldn't automatically recommend a 1,400-lumen light over a 700- or 1,000-lumen model without knowing how and where you're going to use it. More light isn't useful if it's pointing in the wrong direction. High-output front lights should be aimed so that useful illumination reaches the road rather than the eyes of approaching drivers, cyclists and pedestrians. This becomes particularly important with powerful lights used for gravel or off-road riding. A high setting that works well on a completely dark trail may be inappropriate when you return to the road. Use lower modes when conditions allow and check the beam angle after fitting the light to the bike. A powerful light isn't much use if it can't produce useful illumination for the length of your ride. Manufacturers quote several runtimes because modern lights have multiple modes. The longest figure often applies to a very low-power or flashing setting rather than the steady mode you need on a dark lane. Look at the runtime for the setting you realistically expect to use and leave yourself some margin. If your normal winter ride takes 90 minutes, we'd rather see you with a light that comfortably covers that ride at a useful output than one that needs to be run at the edge of its battery capacity. A good light badly mounted becomes a bad lighting setup. The front light needs to remain securely aimed, particularly on rough roads and gravel. Check that the mount doesn't rotate when you hit a pothole or rough surface. At the rear, make sure the light isn't hidden by: If you use an aero seatpost or unusual handlebar arrangement, it's also worth checking mounting compatibility before buying. These aren't the most exciting specifications, but they make a significant difference in normal use. A clear battery indicator means you know whether the light actually needs charging before leaving the house. USB-C is increasingly convenient, particularly if the same cable already charges your phone, cycling computer or other equipment. A winter bike light needs to cope with rain and road spray. Check the manufacturer's stated water-resistance or IP rating rather than assuming every rechargeable light is equally well sealed. Both have their place. Flashing modes can be useful for attracting attention, particularly during daylight. At night, a steady front beam is much more useful when you actually need to illuminate the road. In Great Britain, a cycle used between sunset and sunrise must have a white front light and red rear light. Lights can be steady or flashing, while official guidance recommends a steady front light when riding where there isn't good street lighting. Whatever mode you use, make sure the light is visible, correctly aimed and doesn't unnecessarily dazzle other road users. Those are starting points rather than absolute rules. We'd still choose between individual lights based on beam pattern, battery life, mounting and the riding you're actually doing. Don't worry too much about finding an exact number. Tell us where you ride and what the darkest part of your normal route looks like. We'll help you work out the level of light you actually need, then consider beam pattern, battery life and mounting to find something that suits the bike. Browse bike lights at Port Velo Cycle Works . Port Velo Cycle Works is based in Portbury, serving Portishead, Pill, Clevedon and the wider North Somerset area.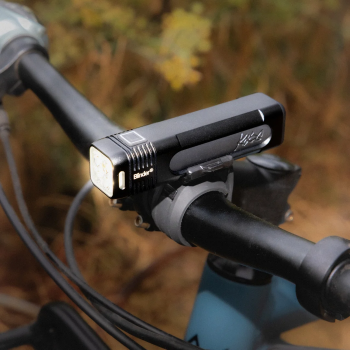
Seeing the road and being seen are different jobs
How many lumens do you actually need?
Type of riding Front light What matters most Daytime visibility Brightness alone isn't especially useful as a guide Visible flash pattern, positioning and side visibility Street-lit commuting Around 200–400 lumens Being seen, useful beam pattern and battery life Mixed lit and unlit roads Around 400–800 lumens Enough usable light for darker sections Unlit country lanes Around 600–1,000+ lumens Beam reach, spread and realistic runtime Faster riding on dark roads Around 1,000–1,500 lumens Seeing hazards early enough at speed Gravel and off-road Around 1,000–2,000+ lumens Beam spread, terrain, speed and runtime Daytime visibility and street-lit commuting
Bike lights for mixed lit and unlit roads
Bike lights for dark country lanes
Faster road riding after dark
Bike lights for gravel and off-road riding
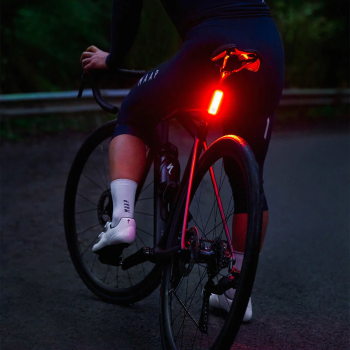
What about rear bike lights?
Why beam pattern matters as much as brightness
Don't forget about dazzling other road users
Runtime: look beyond the biggest number
Mounting position matters
Battery indication, charging and weather resistance
Battery indication
Charging
Weather resistance
Flashing or constant bike lights?
What we'd choose by type of riding
Riding Where we'd start Daytime visibility / simple commuting Moon Orion W + Orion R set Street-lit commute with darker sections Knog Blinder 700 Regular unlit roads and country lanes Moon Rigel Pro 1000 Fast road riding and mixed road/gravel Knog Blinder 1400 Smart rear visibility Moon Helix Sense 150 Still not sure how many lumens you need?